What is rtpmidi debian-13 "universal"?
Today we made a new product release called rtpmidi for "Debian-13 Universal". What does that mean? This short post will explain.
Today we made a new product release called rtpmidi for "Debian-13 Universal". What does that mean? This short post will explain.
The GPIO (General-Purpose Input/Output) pins of the Raspberry Pi are versatile ports for handling both incoming and outgoing digital signals. When used as output ports, GPIO pins can control lights, actuators, motors, relays and many other things.
The Linux ALSA MIDI subsystem has a lot of capabilities and it takes a while to learn all of the bits and pieces that are available. Such was the case when one of our customers wanted to connect Reaper to an external RTP-MIDI capable device (a Behringer X-Touch). The solution was the snd-virmidi kernel module. This post will describe what snd-virmidi does and how it can be used to bridge different types of software.
Version 2.0 of McLaren Lab's rtpmidi improves the timing capabilities of the software and optimizes memory usage.
McLaren Labs' rtpmidi software has been around for a few years now. It reliably sends and receives MIDI events and properly implements error correction. The software is robust and has been used in very many different environments by an enormous number of users.
Update: 2024-09-15 - The easiest way to connect external MIDI devices to the Linux subsystem of your Chromebook is to use the free McLaren MIDI Server sending to McLaren Labs' rtpmidi for Chromebook Linux! (Debian 12 Bookworm).
The McLaren Synth Kit presents audio synthesis as the construction of a graph of audio operators (voices) with the parameters of each type of operator determined by an associated model. Voices define the code that is run in the audio thread and models hold the values that are read from the audio thread. This separation allows the audio thread code to be ensured that maniplations on the models do not block. With models safely out of the audio loop, UI interactions with model properties is straightforward and can use Cocoa idioms for manipulating property values.
Container technology can be used for many things. It can be used for isolation, security, portability or resource management. One popular use of containers is to run a binary for one operating system on another operating system. We wondered if Linux lxc/lxd container technology would allow us to run the binary of rtpmidi for Ubuntu 22.04 on a Debian 12 system. We succeeded eventually.
The McLaren Synth Kit (at https://github.com/mclarenlabs/libs-mclaren-alpha) is an Objective-C toolkit for building projects that simplify working with MIDI and sound synthesis on Linux. We open-sourced it last year and have been refining it with new features and capabilities.
Last week I read about a new release of a fork of the Plan9 Operating System from the 9Front crew. The release is called "Human Biologics" and the new feature list was intriguing. There was now default support for git, and ssh, and some improvements to audio were included.
Update: 2024-05-31 - McLaren Labs' rtpmidi is now available for Chromebook Linux! (Debian 12 Bookworm)
Read how: Install McLaren Labs' rtpmidi on Chromebook.Go to: https://mclarenlabs.com/store to get it!
A few years ago, I explored the idea of writing a small interpreter for embedding into McLaren Labs applications. The concept was to extend rtpmidi or a synth application with a scriptable ability to customize controls, behaviors or sound graphs. This would help make each application very slim, but to allow extension through scripting. (This is not a very novel idea: it's been done many times before. :-) )
There's a cool project called "GNUstep Desktop" that brings together many old GNUstep technologies, and a few new ones, to provide an entire integrated desktop. We gave it a whirl and are pretty impressed!
The McLaren Synth Kit --- https://github.com/mclarenlabs/McLarenSynthKit --- now includes an RTP-MIDI engine that you can include in your own projects. The engine is the same one that is in our well-known rtpmidi product! We're providing the library so that you can set up RTP-MIDI connections as you like.
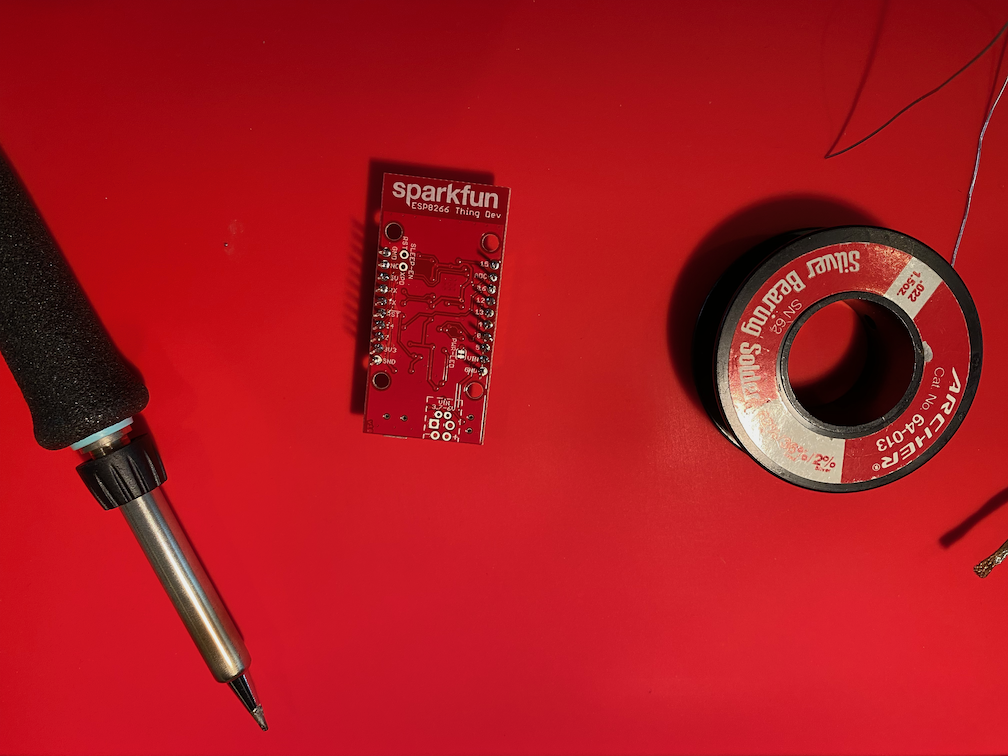
SparkFun ESP2866 "Thing Dev" board
Have you ever wanted to use MIDI commands to control electrical lights or appliances? This article will tell you how using a Raspberry Pi, the GPIO pins controlled by some open-source software from McLaren Labs on GitHub, and a nifty device called the IOT Relay. Using the Relay is an affordable and SAFE way to control 120 VAC sockets and it makes this project a breeze.
The "McLaren Synth Kit" is an Objective-C framework for using MIDI and Audio on Linux computers with the GNUstep programming environment. It is distributed as a project including libraries, headers and example programs at https://github.com/mclarenlabs/libs-mclaren-alpha. You can use it to experiment with sound synthesis for your own personal projects. The project is designed to provide ready-to-compile examples after you clone the repo.
On Linux systems, Bonjour is implemented by the "Avahi" service. This is what McLaren Labs' rtpmidi program uses to find Apple MIDI services on your network when you set it up. Usually rtpmidi can find the iPhones and iPads on your network, but sometimes things do not go smoothly. That's when you need to do some network debugging. One of the tools that you can use to learn about Bonjour services on your network is avahi-browse.
Here at McLaren Labs we like to try all sorts of tools and development environments to see how they work together. We've been using vscode (https://code.visualstudio.com/) on and off for about a year, but only recently decided to try using it for a more complete edit/debug/run cycle for an Objective-C Synthesizer project. We ran into an unexpected interaction between the Snap environment of vscode and the ALSA (Advanced Linux Sound Architecture) PCM interface.
In version 0.5.2 of McLaren Labs' rtpmidi, we made the use of locked memory the default. Locked memory dedicates fixed RAM to the rtpmidi process, and prevents it from being swapped to disk. The use of locked memory (through the mlockall() function call) can be a benefit to realtime applications like MIDI and Audio, but its use can be to the detriment of other processes. So it should be used carefully.
During this time of sheltering-in-place and staying at home, finding ways to collaborate on the internet is more important than ever. Did you know you could use Network MIDI to play duets or "jam" over the Internet?
When you use our rtpmidi tool to connect two devices you have created a "session." The session has an "initiator" side that started the connection, and "listener" side that accepted the invitation. Some devices, however, do not make good "initiators" and iPhones are a great example. An iPhone cannot initiate a network MIDI session.
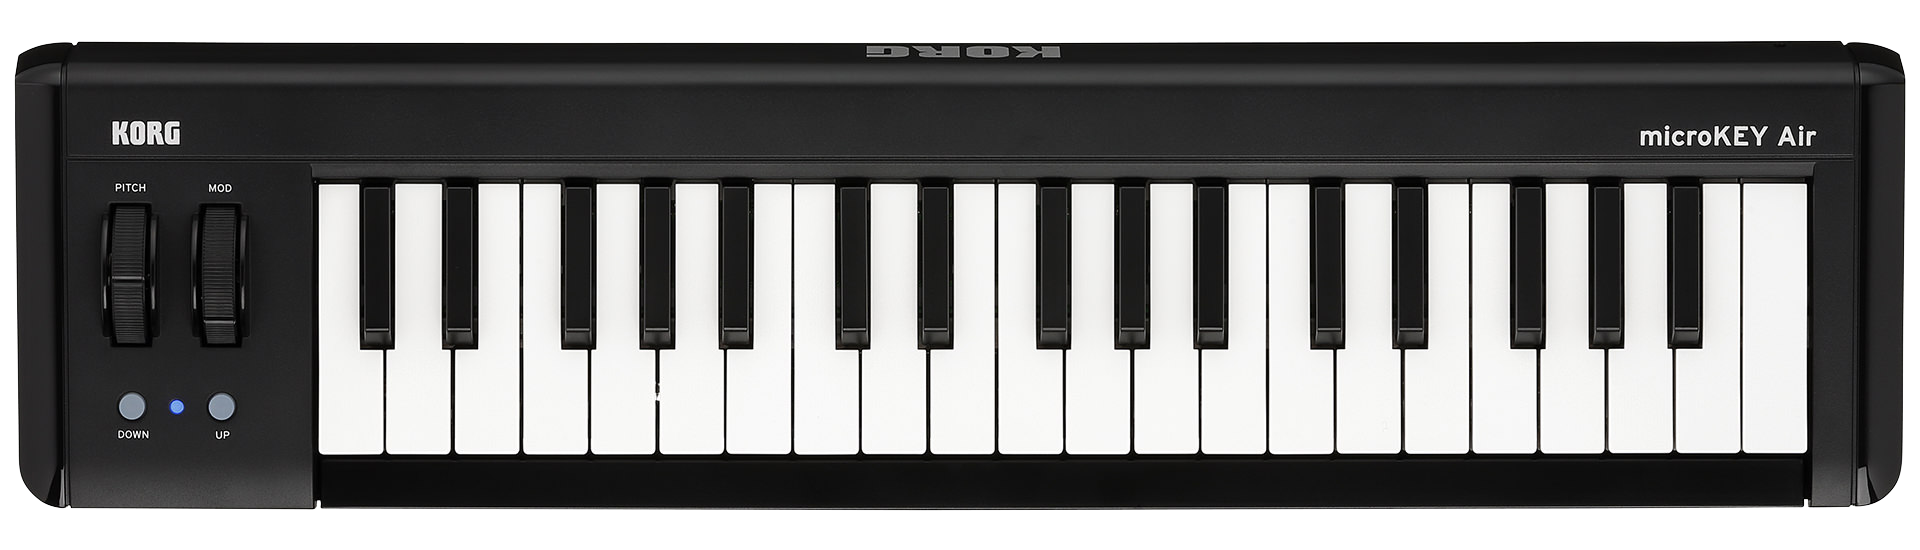
Last year, in https://mclarenlabs.com/blog/2019/01/15/korg-microkey-air-37-bluetooth-midi-keyboard-with-raspberry-pi/, I described how to compile a Bluetooth update for your Pi and how to connect a Korg Bluetooth keyboard to your Pi wirelessly. Raspbian "Buster" includes bluez-5.50. The code for version 5.50 includes support for Bluetooth MIDI, but it is not enabled in the "Buster" distribution. This article describes what I discovered in compiling bluez-5.50 for "Buster" and how I installed it to get Bluetooth MIDI working on my Raspberry Pi4.
A service is a program that the operating system automatically starts when it boots. On the Raspberry Pi "buster" operating system, the daemon that starts and stops services is called "systemd." You can read about creating services here:
You may notice that when you purchase our software in the "store" that you may be given multiple releases to choose from. See the screenshot below. The purchase of $5 on October 19 has given access to two releases: 0.5.2 and 0.5.0.
Along with the recent release of McLaren Labs rtpmidi version 0.5.0, we have new ports to Raspberry Pi 4 Raspbian OS "Buster" and also Ubuntu 19.10 "Eoan Ermine".
This month McLaren Labs releases rtpmidi version 0.5.0 for Ubuntu and Raspberry Pi. This release brings some great new features, and also provides a few performance and installation improvements.
Network MIDI was invented sometime around 2004 to send MIDI messages over an IP network. To handle network loss, a protocol known as RTP-MIDI was created and documented as RFC-4695. Network MIDI is built into OSX computers and iOS devices. Apple music creators think nothing of connecting MIDI equipment using Ethernet and WiFi, instead of MIDI cables.
McLaren Labs was started with the idea that music and media creation on Linux should be as easy and fluid as Mac OSX. We had been inspired by AVFoundation and the modular way its pieces fit together. We loved being able to build media pipelines with sources and sinks that cleaned up after themselves when you were done with them them.
Remote musical MIDI collaboration has been an interesting academic research area for years, but has not been explored by many casual musicians. One reason is that the complexity of software that brings MIDI and Networking together makes it a little bit of a daunting endeavor. We think it's time to open exploration to more people and make remote MIDI collaboration as easy as joining a Hangout.

The Yamaha MD-BT01 is a nifty little MIDI 5-pin DIN to Bluetooth adapter. It plugs into the MIDI In/Out ports of MIDI controllers to connect wirelessly to a computer with Bluetooth. A typical use for this adapter is to connect legacy MIDI keyboards to a computer without using a 5-pin MIDI to USB adapter on the computer. Since most computers have Bluetooth built in these days, this makes for a tidy work-area since it eliminates at least one of the cables in your MIDI studio.
Do you want to have even more fun with your musical Raspberry Pi? Use an external Bluetooth MIDI keyboard with it! For this project, you need to download and compile a new version of the Bluetooth drivers for Linux. If you don't already have compilation tools installed, you'll need those too.
We will tell you how to compile and install the necessary Bluetooth driver, and then describe how to pair a Bluetooth MIDI Keyboard.
Sometimes you want a really "punchy" sound. To a musician, this means a sound with a rapid attack and a quick reaction from the keyboard. To a software developer, this means a sound with a very low attack rate and a very low latency through the synthesizer from the keyboard to the audio output. To make a punchy sound, we're going to use an external USB audio card, and also adjust the sound card settings.
We've been inspired to be creators ever since we got our first Raspberry Pi. It makes possible so much invention and experimentation for not a lot of money. One of the things we've wanted is an easy-to-use, dead simple tone generator for using the Raspberry Pi as a MIDI instrument.
Our just-released Organ synthesizer makes it easy for anyone to get started with using a Raspberry Pi as a musical instrument. Plug a MIDI keyboard into the USB port and play. Or grab a MIDI file and experiment with different sounds. It's fun, and it's easy. And best of all, it was designed specifically for the Raspberry Pi!
The animated screen capture below illustrates the rtpmidi program in action. The rtpmidi program allows two computers to share musical MIDI events in real time over a network connection. The RTP-MIDI protocol is a standard implemented on Mac, Windows and Linux computers. You can use McLaren Labs' implementation of the RTP-MIDI protocol to create musical networks of computers.
What we see is the following.
You may have heard a new term recently: "The Tactile Internet" [1]. The Tactile Internet is the next evolution in the Internet of Things, where humans and machines can interact in real time, and with a very low latency. Low latency capabilities will enable new applications. The Tactile Internet will allow people to interact with remote environments and in real-time.
The RaspberryPi 3B is an amazingly powerful computer for the price. It provides quad-core computing power for just $35. This makes it more than capable for music experimentation and learning, and experimenting with Software Synthesizers is a fun way to learn about sound.
Did you know you can use rptmidi directly from the command line in a terminal? When used this way, the GUI (graphical user interface) is not used, and Bonjour is skipped as well. Instead, each invocation of the rtpmidi program creates a new Session that can be a Session Listener or Session Initiator. Working at this level you can connect if you know the hostname or IP-Address of each computer, as well as the port the RTP-MIDI session is listening on.
There are a lot of good touch-MIDI controllers available for the iPad. They're fun to use and can be customized. One such popular controller is MidiPads . In the past, an owner of a Raspberry Pi wouldn't be able to take advantage of this controller, since MidiPads speaks "Network MIDI" and the Raspberry Pi does not. (Or did not, at least until now).
USB MIDI controllers and keyboards have come way down in price the last few years. We really like the Akai MPK Mini mkII, and we've really enjoyed using the Numark Orbit because it has an accelerometer in it for sensing tilt and motion, and it is easy to send MIDI messages for changing its colors.